Wednesday, July 5, 2017

3D Printed Student Bookmarks V3.0

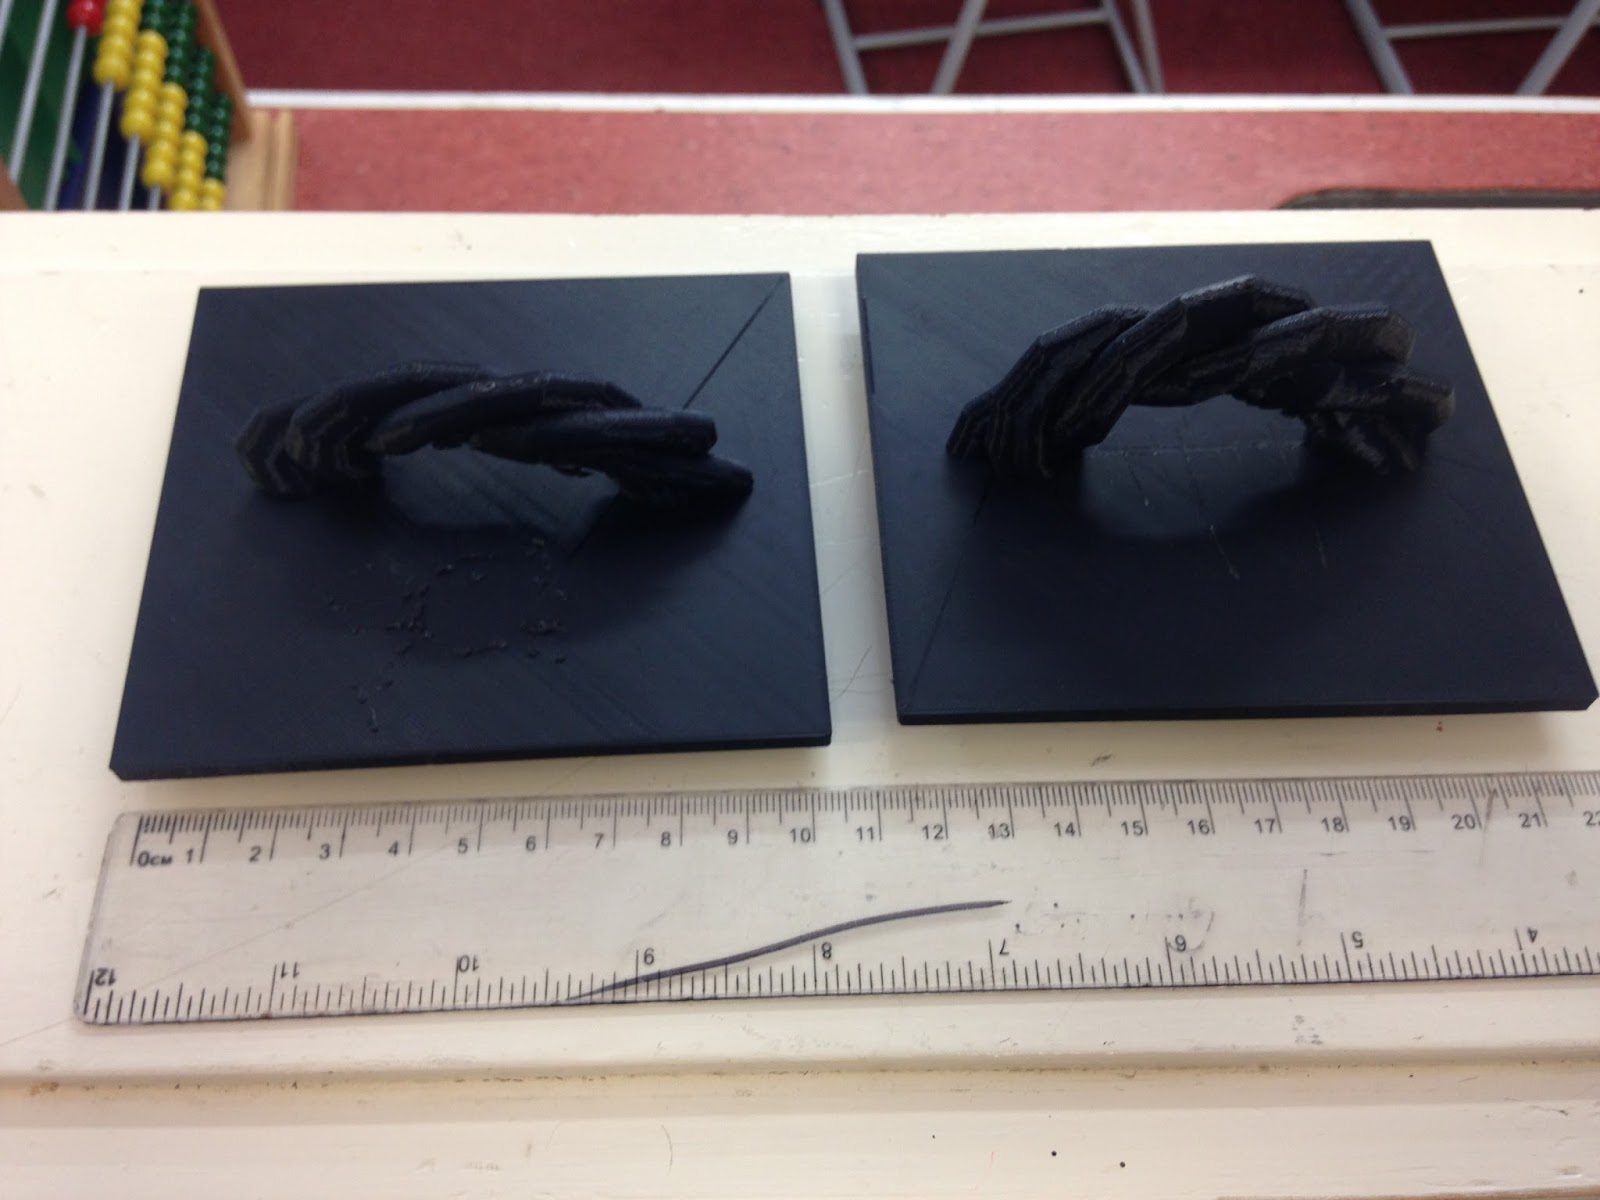
Original Bookmark with rafting.
Challenge: As part of the Chapter Chat New Zealand program the students had to design an original 3D Printed Bookmark for use.  The students were Y3/4 students who were designing for the first time - using Tinkercad.
Background: Students were mentored in their use of Tinkercad, the students doing the tutoring were Y6/7 students from another room at the School who had experience in 3D Design and 3D Printing.  This task has been completed with previous prints on this site on two previous occassions.
Level of Difficulty: Low: Students were producing work for the first time using the default setting and were able to produce this work with minimal assistance.
Above: 'Taylah' Bookmark shown to scale.
Size: Varied - the prints in this sequence were designed to work as a bookmark for a regular childrens chapter book hence a size of 15cm to 10cm and then 5cm across at the top.   The Cahill bookmark had a width of 5mm.  The Taylah print was 1cm thick and a little too bulky for its purpose.
Timeframe: The Cahill Print was 45 minutes (8mm nozzle) and the Taylah Print two hours.
Process: The students were shown the process of design and creation with Tinkercad and given a brief of a bookmark.  Otherwise they were able to work to create original designs of their choice.  They were able to share ideas hence the similarities between designs.
What would we do differently:
Nothing.  In this case the prints were impressive for first designs and the students were thrilled with the results - the practicality of the designs meant that they didn't perfectly fit the purpose as they were a little buky, and would have benefitted from having a clip or an insert to allow the bookmark to fully serve its purpose.  

Monday, July 3, 2017

3D Printed Student Desk Organiser - Take One

Desk Organiser in Use! 
Challenge: For student to graduate from producing an original name plate/badge to produce something more challenging and 'next level' using the schools 3D Printer.
Background: This is the students second print, using Tinkercad as a design project.  The student was assisted by other students who had produced work from the classroom and was looking to refine her design to produce an object that was useable and achieved the purpose of creating a pencil desk organiser.
Level of Difficulty - This was medium - the issue was the lettering/font that went with the shape.  The basic design was a default design from Tinkercad from the main interface.  Once the shape had been measured and identified the only issue was the stretching of of the shape.
Size: 8cmx10cm with a height of 10cm.
Timeframe: Nine Hours on a regular print setting with a 8mm nozzle.
Viewed from Above
Issues: With the base of the design none.  With the lettering of the students name - plenty.  In the original Tinkercad design the lettering wrapped seamlessly around the shape and was attatched with rafting to the design.  The practicality was the lettering didn't work in this format - so an alternative plan was devised with the letters being sunk into the design for the reprint.  This design was carried out by the student who had worked successfully to do so to insert his name into the 'gift box' post.  The original design was left with the rafting still attatched (see photo) to ensure the lettering and the students name remained in place.
Process: As with nearly everything else on site the student used Tinkercad which was then converted into a Cura 2.6 file, and then printed on regular settings with an Ultimaker 2+ Printer. (as noted on previous posts the previous nozzle was 4mm and we are now printing on a regular basis with a 8mm nozzle which is having a considerable and positive influence on the print times of the projects the students are working on.
What we would do differently: The student was extremely pleased with the print so much so she insisted on using the object even though it hadn't met the design brief.  The student has every intention of repeating the process, this time with the lettering embedded into the print.

Wednesday, June 28, 2017

3D Printed Student Designed Eggcup

Above: Inverted Eggcup
Challenge: For the student to design an original project using the 3D Printers - an eleven year old student in this case.  
Background: This was the first eggcup attempted by a student for some time.  The default designs of Tinkercad was used (so the 'chicken' design has featured in part in several other designs on this site.
Level of Difficulty: Medium - the basis of the design was the Tinkercad character default but considerable detail had to be added to make it a workable eggcup.
Size: 15cm in length, and ten cm wide.
Interior visible.
Timeframe: Nine hours with a 8mm print nozzle. (Note this is now the default size for prints on this site, previously it was 4mm but as a consequence we have considerably reduced the print time on a number of projects.
Issues: One foot was broken off during rafting removal when the print was completed.  The rafting under the wing was proving problematic to remove.  Both these issues could have been reduced by the use of pliers to remove following print.  The balance of the print meant that it was not suitable for the intended purpose.
Process: Tinkercad into the new version of Cura, then printed on an Ultimaker 2+.   Standard filament used with an increase in the size of the nozzle.  This is significantly reducing the print times as a consequence and not greatly affecting the quality of the print that is being produced.
What would we do differently: The base needs to be redesigned in some way to strenthen the feet of the print so that it is able to be removed from the print base - it also needs to have more structure to it so it can balance and serve its purpose.  The eggcup size is generous a redesign is currently being planned to address these issues.

Saturday, June 3, 2017

3D Printed Desk Organiser

Above: Original design shown to scale
Challenge: For student to create an original design that had a specific and working purpose.
Background: Student was given the opportunity to create a project of their choice, and designed and created a pencil and pen holder that would be functional and for use in the classroom to sit on the students desk.
Level of Difficulty: Medium.   The task involved a number of inlays to hollow out the inside.
Size: 9cm high, 6cm wide and 6cm deep.  The inserts went within a short distance of the base to allow a variety of stationery to be held.  
Above: View showing holder clearly
Timeframe: Eight hour print - a high grade of PLA was used as this was the current roll.  
Issues: None, from design to print it worked perfectly, there was a minor issue with the base, although this was not related to the design and was solved by the use of superglue in one corner.
Process: As per the 'norm' on this site at present the process was design in Tinkercad, the .STL then switched to Cura for printing on the Ulitmaker 2+.
What we would do differently: Given the success of the print and the task for the student little would be done differently.  It allowed the student to produce a practical object that had use in the classroom and was successful for the purpose which it was designed and was printed for.  This was the students first design/print.

Thursday, June 1, 2017

3D Printed Parent Designed Keyring

Above: Parent designed keyring
Challenge: Looking for opportunities to improve the partnership between parents and students we held an opportunity for parents to come into school and use the 3D Printers independent of the students.
Background: This was an opportunity for an adults first design, from scratch, without prior knowledge and use of Tinkercad or an iMac.  The session was designed as part of an introduction for parents and the design time allocated was ten minutes.
Level of Difficulty: Low - (however this needs to be put into the context of who was designing the project.)
Size: One of the smallest prints that we've ever completed.  5mm depp, 2cm wide/high and 5cm in length.
Timeframe: 45 minutes on a regular print setting.
Issues: The first print (pictured above) had some issues with the hole in the top right hand corner, this caused a second print run to occur, when the problem resolved itself.
Process: It was initially hoped that the parents would be able to complete the project independently, however this was not going to occur in the timeframe so two students came and completed the process.
What we would do differently: This project is one that the students felt confident in assisting with, and given the straightforward to ensure that the parents were able to complete the task successfully.


3D Printed Gift Ideas (Beginner)

Above: Desk stand gift for parent.
Challenge: Student wanted to produce original gift to give to two members of her family.
Background: These designs were created by the student in her first attemps at 3D Printing, without input from others.  The student had been part of the class producing 'Christmas' themed decorations last year however this was the first opportunity for her to print individualised projects.
Level of Difficulty: Low - these designs were created with basic default settings from Tinkercad, and required a basic design.
Above: 'Alyssa' star gift with rafting clearly visible on gem (top).
Size: The 'rural fire' desk stand was a block design that had a depth of 2cm, a length of 10cm and a height of 8cm.   The 'Alyssa' star design was 15cm across, with a depth of 1cm.
Timeframe: Combined eight hours for both projects.  Both were printed as a 'fast print'.
Issues: 'Alyssa' star design lifted on the base and had to be superglued, this was an issue related to the filament, not the design.  Both designs were basic but produced the required result.
Process: Tinkercad with the design all created from the basic interface.  Converted to Cura for printing on the Ultimaker 2+.  What we would do differently: This task has been detailed before, or variations of it.  It has proven suitable as an introductory print that could be easily designed, printed successfully by the student who was extremely pleased with the results.

Friday, May 12, 2017

3D Printed Gift Box lid redesign

The first lid (left) and the refined improved version (right)
Challenge: Following on from the previous sequential print the student was unhappy with the quality of the lid.  He was insistent on redesigning the lid to improve the finish of the print.
Background: As noted in the previous details two aspects of the lid of the Mothers Day Gift Box had not proved successful.   The rose had been printed as part of the lid and then manually removed - which left residual filament on the lid.   The handle for the box detatched when the print was lifted, the lid was increased in size and sunk deeper into the lid to provide more strength and stability.
Level of difficulty: Low the student had got significantly close with the first print, and was given the option of using this lid in the final version.  He wanted to improve its design and was
therefore making adjustments to the print instead of designing a new lid.
Size: 10cm by 10cm to a depth of 5mm.
Timeframe: Seven hours.
Issues: Non - the two probelm areas were successfully addressed.
Process: Tinkercad/Cura, refining of already created work.'
What we would do differently: The student (Y5/9 YO) was driving the design and the process.  He was the one who wanted to reprint and we were happy to allow him to do so, on the basis that he had created an original idea - this should allow a student to move onto greater things in the future and should also be put in the context of the student creating his first challenging print and doing so in his own time to completed the project.